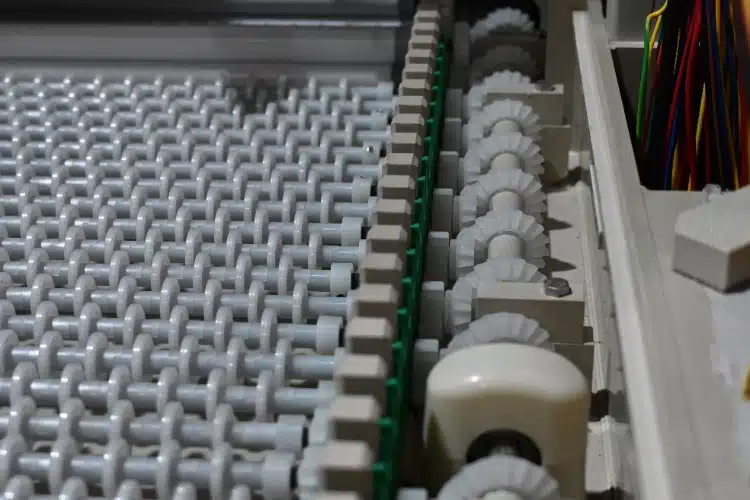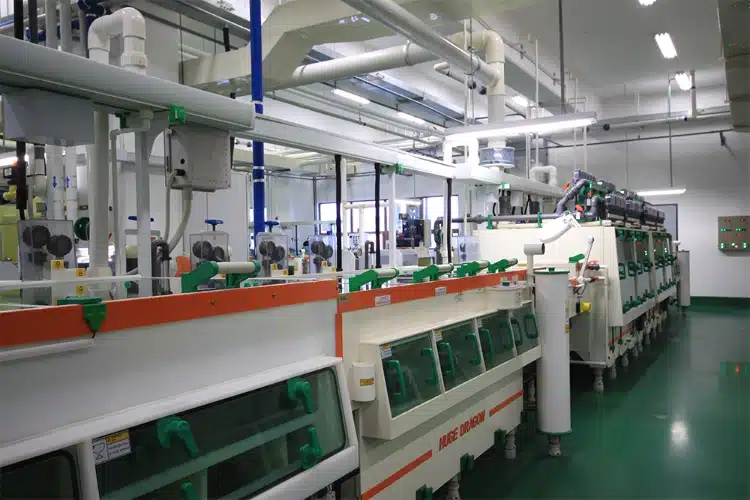
The two holes line up. The new handle is tightened. Then an operator tries it with wet gloves and finds there is no room for his knuckles. On the next door, the grip works but strikes a pipe halfway open.
Neither problem appears in a loose-part photograph. Qixingyuan lists handles among the functional parts used around PCB and LCD equipment. A replacement inquiry needs to show the moving door or cover as well as the part.
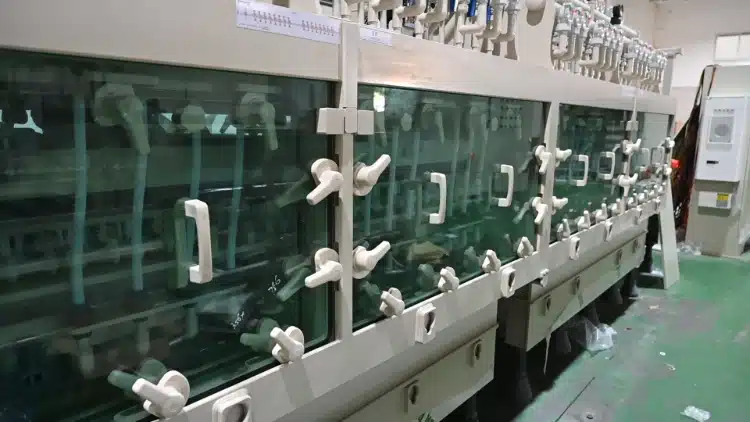
Photograph the door twice
One frame catches the closed door; another catches the end of normal travel. Keep the hinge and latch in shot. The pipe or tray that seems like background may be the first collision. Draw the pull arrow directly on the image.
For a lift-off cover, show where both hands go. Add the place where the operator sets it down. A comfortable grip on a bench can put a wrist against a sheet-metal edge during the actual lift.
Turn the camera around. Is the rear held by nuts, studs, inserts, or a backing plate? A crack at the hole is a panel problem as well as a handle problem. Once the holes stretch or the sheet bends, this is no longer a simple part swap.
Measure the hand space that operators actually use
First note the centers, holes, panel thickness, grip, and stand-off. Now repeat the check with the station glove on. The remaining finger space—and any edge that touches the hand—belongs on the sketch.
Do not stage a catalogue pose. Watch both hands: perhaps one holds the latch while the other pulls. Note whether the grip carries weight or only guides the cover. A folding version also has to return without catching anything.
A cardboard gauge is useful here. Label it “clearance only.” Knuckle contact and a nearby collision can then be found before metal is cut.
Trace the stain before choosing material
A wet-line handle may see process splash, rinse water, cleaning solution, warm vapor, or only residue transferred by gloves. The pattern helps. Staining behind both mounting feet suggests trapped liquid; a mark on one side may come from a nearby leak.
Instead of “corrosion-proof,” write the chemical name and temperature that are actually known. If the old grade or coating cannot be traced, mark it unconfirmed; its color proves very little.
The grip is only one piece of the joint. Its fasteners, inserts, and panel may react differently when one material changes. Load and the final combination remain the equipment owner’s decision. The Qixingyuan product range supplies the wet-process context; the buyer’s notes explain this machine’s exposure.
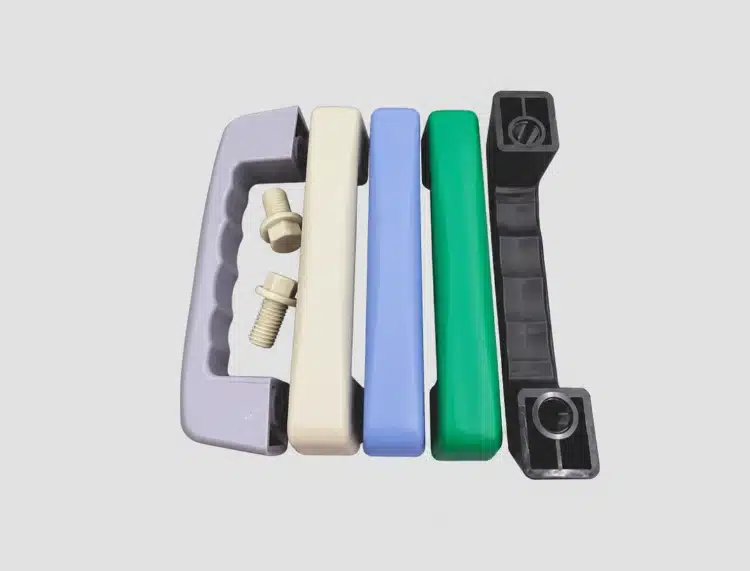
Find the force that broke the old part
Move the door by hand and pause where resistance starts. Is the seal stiff? Has the hinge dropped or the latch shifted? A rubbing guide can turn an ordinary pull into a jerk, and a heavier grip only conceals that cause for a while.
Read the broken part beside the panel. A crack at one foot is consistent with twist or uneven seating. Lengthened holes show that the mount moved. A bend through the center sends the team back to the pull direction and the force used to free the door.
For a lift-off cover, give engineering its actual mass and the two-handed carrying method. Shape is not a load rating. Resemblance to a catalogue item is not one either.
Check the guard function before you approve the grip
A handle can be comfortable and still belong to a door that no longer protects the operator. If the door is a guard, your review must preserve its closing, latching, and safe-distance function. OSHA’s machine-guarding guidance is a useful authoritative reference for the principle that guards protect people from machine hazards; your local rules and the machine risk assessment decide the exact requirement at your plant.
Watch what happens after the operator releases the handle. Does the door stay closed, rebound, or drift into the aisle? Does the latch engage without pulling the panel out of line? If an interlock is fitted, record its function separately instead of assuming a new handle proves the safety circuit. A cosmetic fit check cannot replace functional verification.
You should also define the maintenance state before anyone reaches behind the panel. If the task can expose a person to unexpected movement or stored energy, follow the site’s isolation procedure. OSHA’s lockout and tagout standard illustrates the need for controlled shutdown, isolation, verification, and return to service. The replacement article does not set your legal procedure; it prompts you to include the right owner before work begins.
Trial the full movement
Fit every item supplied for the joint—the sample grip, washers, backing plate, and fasteners. The operator then repeats the task in gloves. Follow the knuckles and the nearest obstruction while the latch releases and the door moves.
Return after the agreed trial and look closely around the holes. Fresh witness marks, trapped cleaner, movement, or a loose fastener belong in the result. File the approved installation method with the drawing; an orphaned torque number is not a method.
For repeat purchasing, keep an installed photograph under the same part number as the released drawing. A loose sample can help the supplier feel the grip, but wear may have changed its geometry.
Send the installed story
A few labeled pages will do. Put the machine and position at the top. Below them, place four views: closed, open, rear mounting, and damage. Use one sketch for the centers, panel thickness, grip, stand-off, and nearest obstruction.
Add a short field note: pull or lift, glove type, liquid exposure, fastening method, and the observed failure. Finish with a measurable release check for the trial batch.
A custom drawing needs a revision number. Questions can go through Qixingyuan’s page de contact; copy the agreed answer into the record for that revision.
FAQ
Do matching hole centers prove the handle will fit?
No. It may still fail at the rear mount, pinch the hand, or collide during the door’s travel.
Is the old handle enough as a sample?
It helps, but deformation and wear may hide the original shape. Send installed photographs and dimensions with it.
Would a thicker handle prevent another break?
Only after the failure cause is known. Binding doors and weak panels can simply move the damage somewhere else.
Why mention cleaning liquid?
Routine cleaning may wet the handle more often than production splash does, especially behind its mounting feet.
What belongs in the trial check?
Repeat the real task in gloves. Then look again at the travel, panel, fasteners, and any liquid caught behind the mounting feet.